3.3 KiB
Assets Site
A digital asset management system built with Flask and S3-compatible storage.
Features
- Digital asset management with metadata
- S3-compatible storage backend (works with MinIO, public buckets only atm)
- Automatic WebP conversion for images
- License key management
- Docker container support
Screenshots
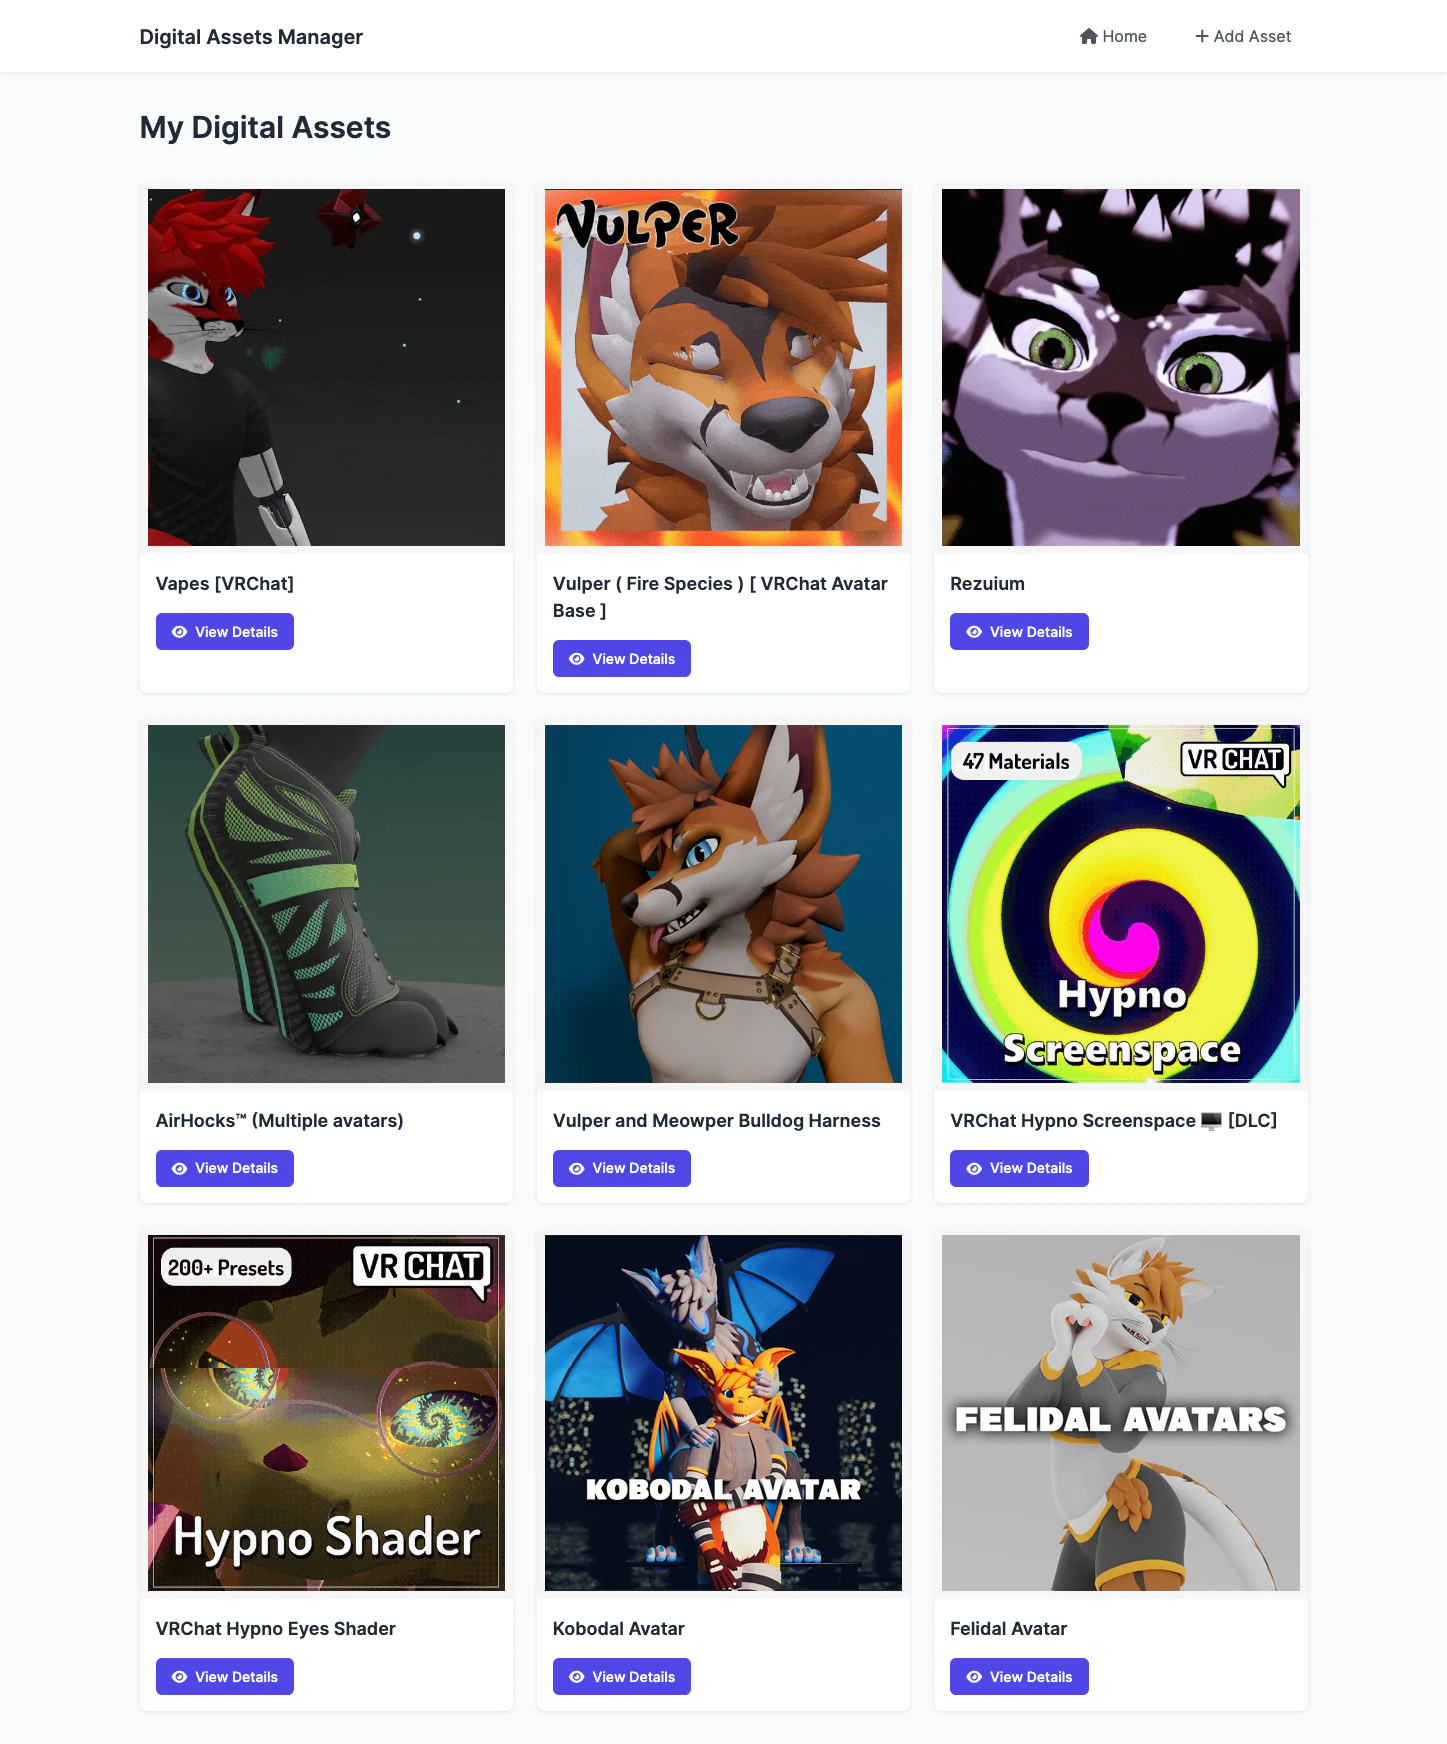
Home Page
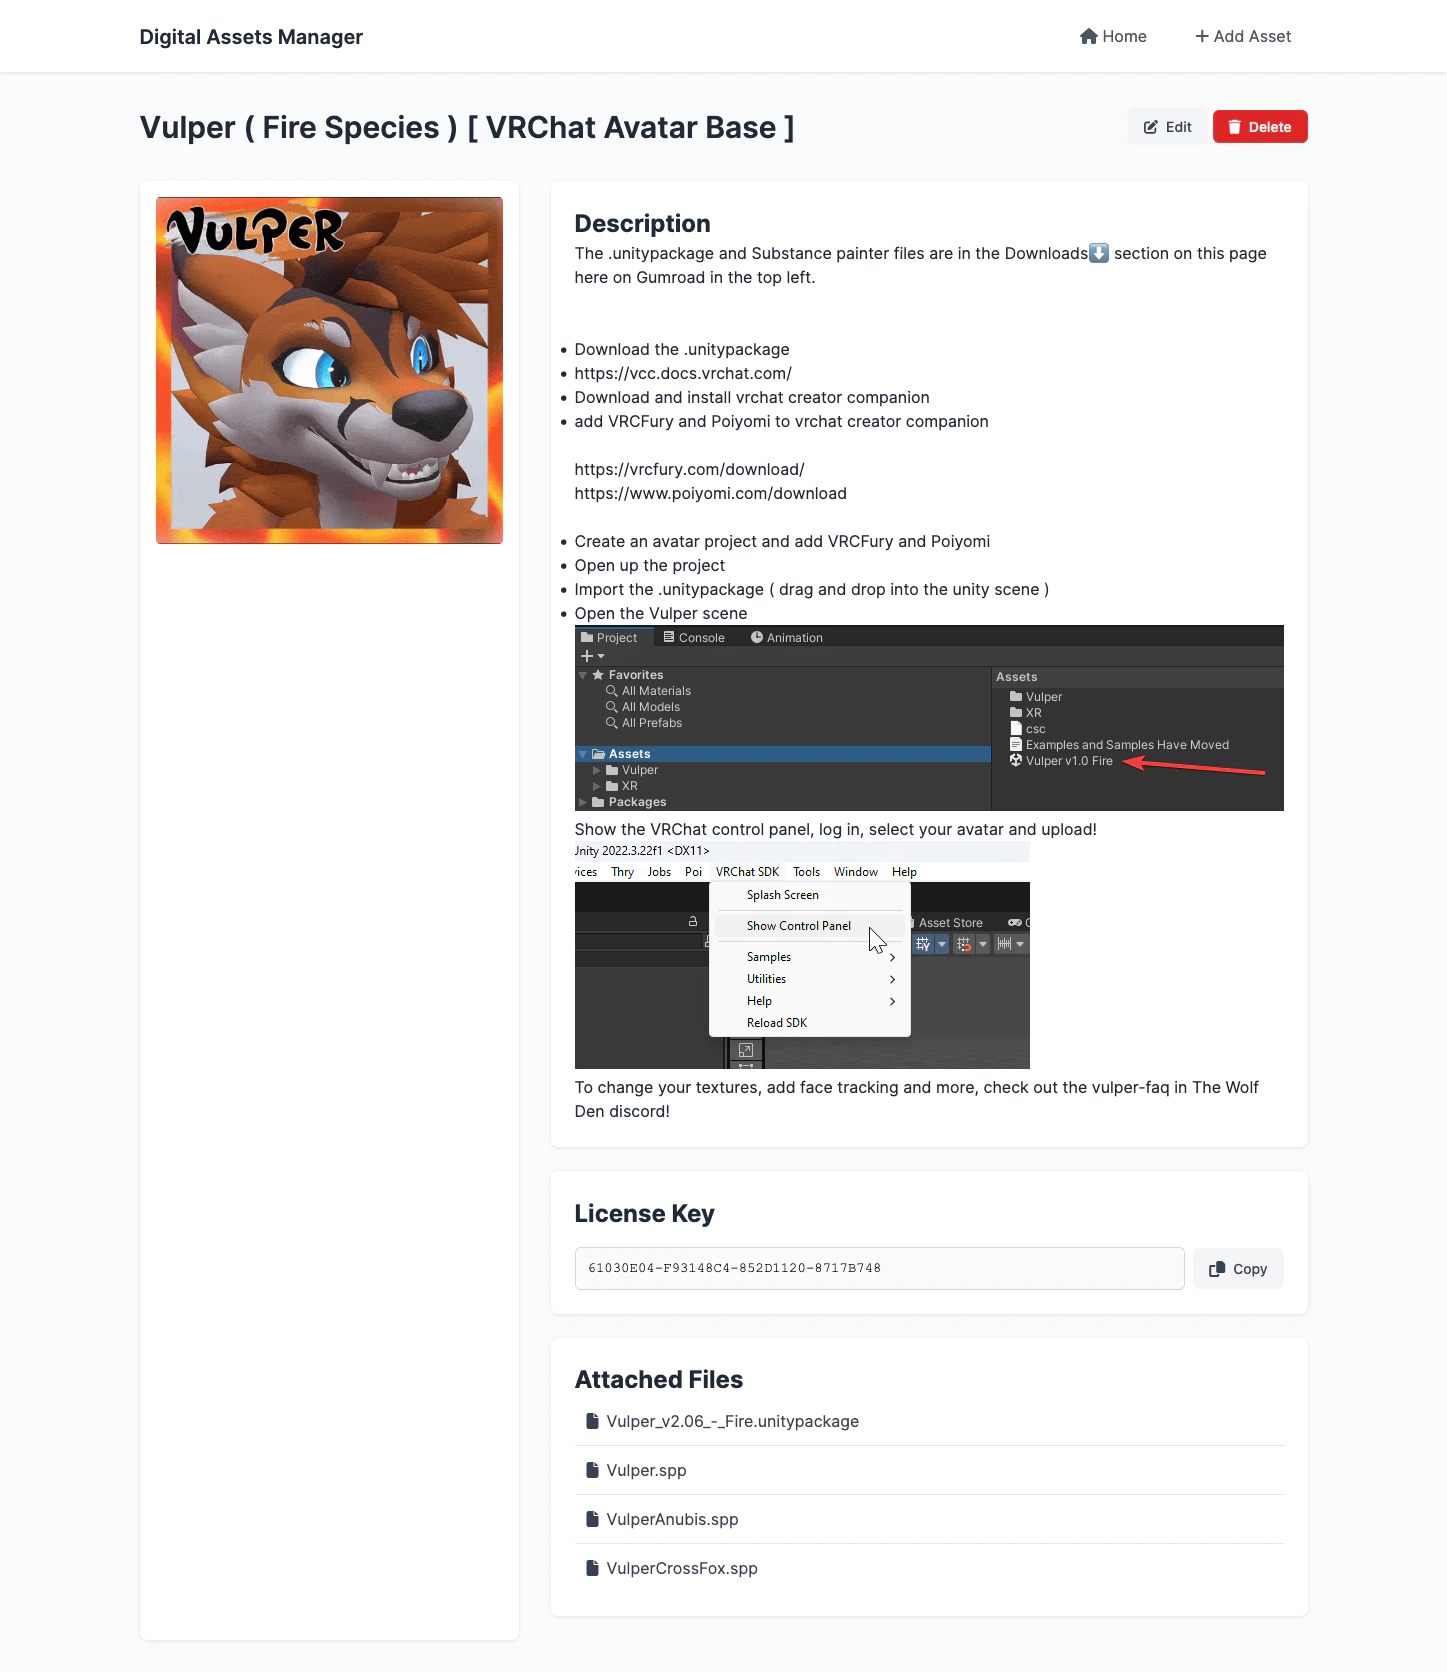
Asset View
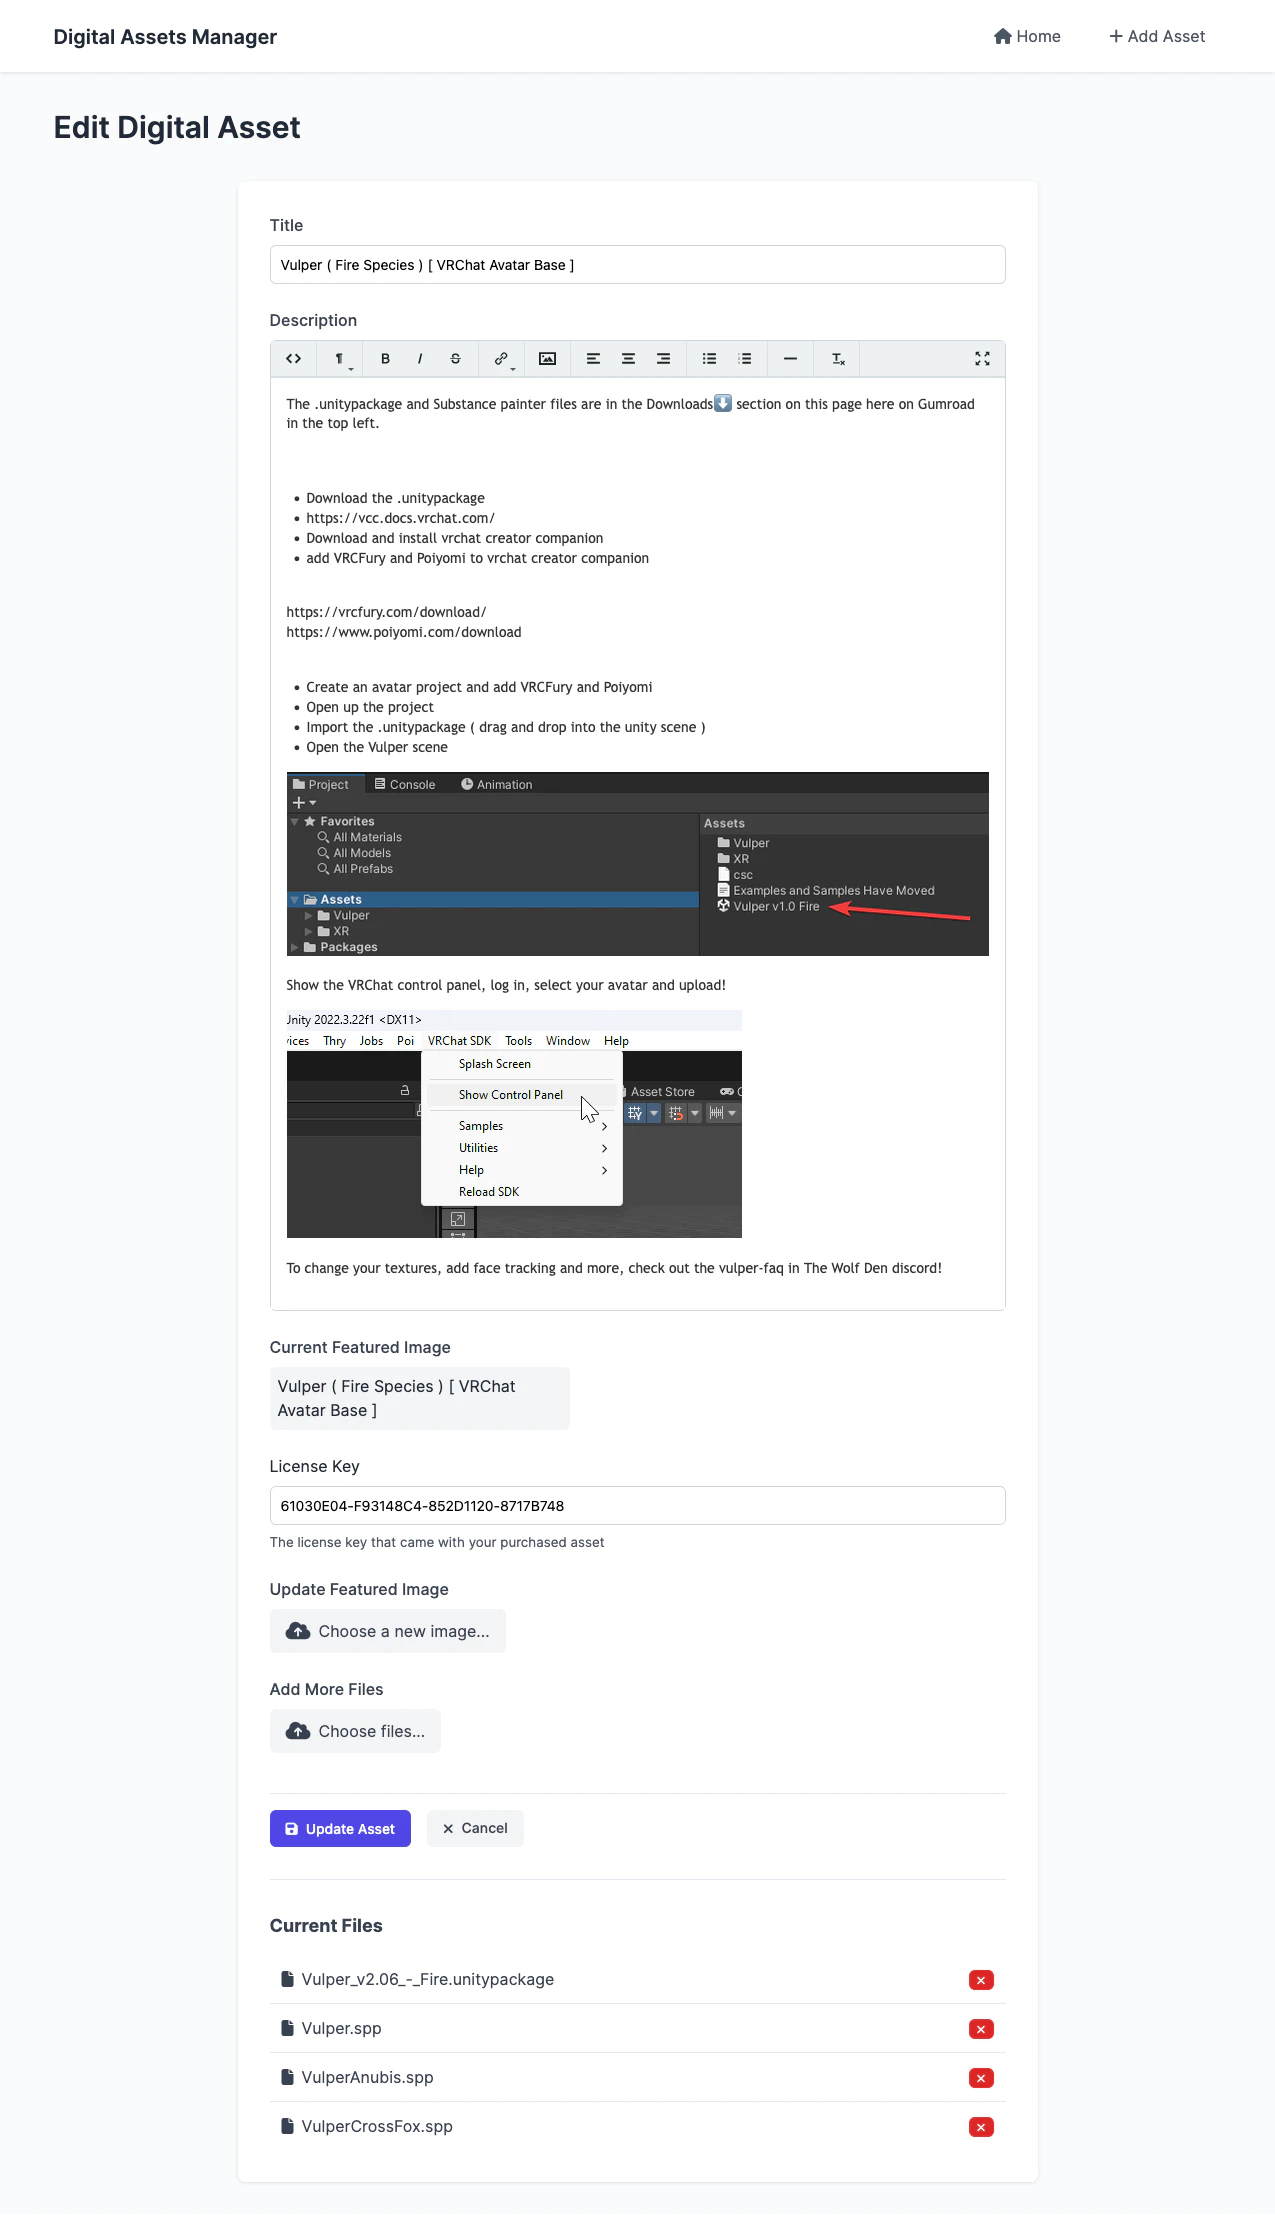
Edit Page
Container Registry
This project includes automated container builds using Forgejo CI/CD. The container images are published to the project's container registry.
Using the Container Image
To pull the latest image:
docker pull git.hack13.dev/hack13/personal-digital-asset-manager:latest
For a specific version:
docker pull git.hack13.dev/hack13/personal-digital-asset-manager:v1.0.0
CI/CD Setup
The project uses Forgejo CI/CD to automatically build and publish container images. To set up the CI/CD pipeline:
-
Configure the following variables in your Forgejo repository settings (Settings > Variables):
FORGEJO_REGISTRY: Your Forgejo registry URL (e.g., forgejo.yourdomain.com)FORGEJO_OWNER: Your Forgejo username or organization nameFORGEJO_USER: Username for registry authentication
-
Add the following secret in your Forgejo repository settings (Settings > Secrets):
FORGEJO_TOKEN: Access token for Forgejo registry authentication
-
Enable Forgejo Actions in your repository settings
Container Tags
The following tags are automatically generated:
latest: Latest build from the main branchv*: Release tags (e.g., v1.0.0)sha-*: Build for specific commit
Development
Local Setup
- Clone the repository
- Create and activate a virtual environment
- Install dependencies:
pip install -r requirements.txt - Set up environment variables (see
.env.example) - Run migrations:
flask db upgrade - Start the server:
flask run
Database Migrations
This project uses Flask-Migrate (Alembic) for database migrations. The migrations folder is version controlled and should be included in your commits.
Working with Migrations
-
Create a new migration after model changes:
flask db migrate -m "Description of changes" -
Review the generated migration in
migrations/versions/ -
Apply migrations:
flask db upgrade -
Rollback migrations:
flask db downgrade
First-time Setup
When cloning the repository:
- Initialize the database:
flask db upgrade - This will apply all existing migrations in order
Docker Development
Build the container:
docker build -t personal-digital-asset-manager .
Run the container:
docker run -p 5000:5000 \
  -v $(pwd)/static/uploads:/app/static/uploads \
  personal-digital-asset-manager